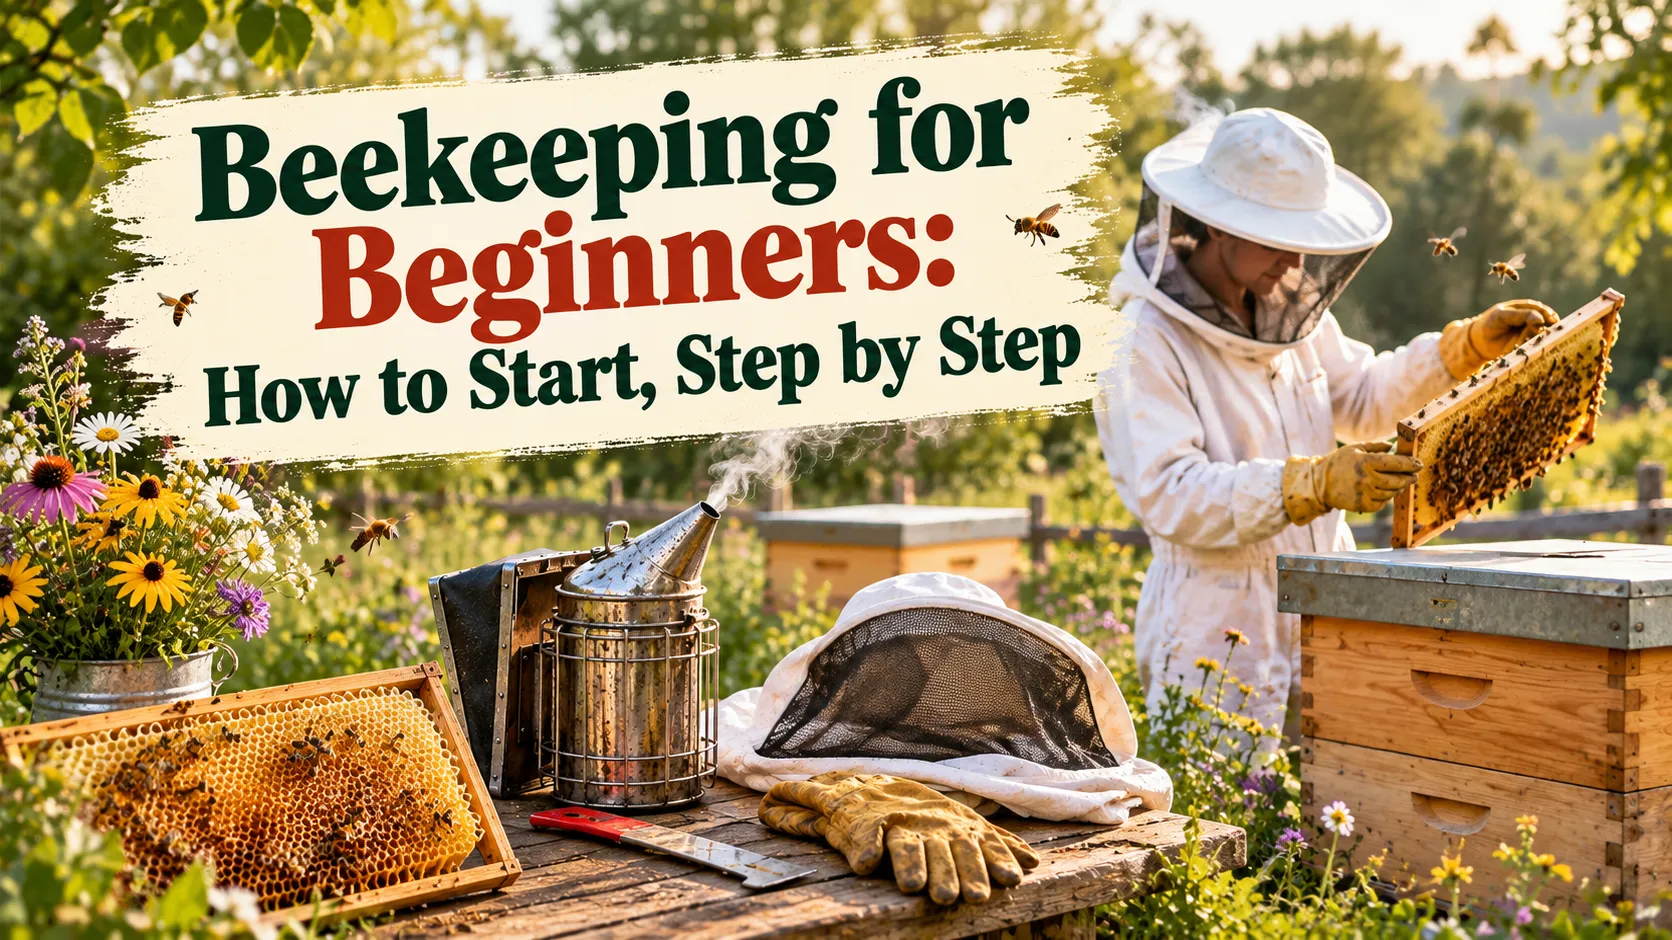
Keeping bee hives in a backyard is very achievable. Thousands of US hobbyists start every spring with one or two colonies. Most of the hard parts happen before the bees arrive, though: learning, checking the rules, picking a site, and ordering bees early enough to get them. This guide puts the basics of beekeeping in order and ties each step to the calendar, so a beginner who starts reading in fall knows exactly what to do each month until the first winter.
It’s a synthesis of university extension guidance (Georgia and Penn State), the Honey Bee Health Coalition’s varroa guide, and national survey data, not one person’s story. Where advice differs between regions or sources, we say so.
Is beekeeping right for you?
Before you spend money, be honest about four things: time, stings, neighbors, and cost.
Time. A backyard hive is not “set and forget.” In spring and early summer, most beekeepers open each hive every week or two to check the queen, the brood, and space for the colony to grow. Summer and fall bring mite testing and feeding decisions. In winter you mostly leave the hive closed. The work is seasonal, and spring is the busy part. Penn State Extension notes that managing two colonies takes about the same time as managing one, which is one reason to start with two.
Stings. You will get stung sometimes, even with a suit. For most people a sting means local pain and swelling. Some people have serious allergic reactions. If you have ever reacted strongly to a sting, or you don’t know how you react, talk to a doctor or allergist before you start. Consider the people who live with you too. This article is general information, not medical advice.
Neighbors. Bees fly a few feet up from the hive entrance and then rise toward their forage. A fence, hedge, or wall in front of the hive pushes their flight path above head height. Many neighbor problems are really about bees visiting a swimming pool or birdbath for water, so give your bees their own water source before they find one next door.
Cost. Most beginners spend several hundred dollars in year one on a hive, protective gear, tools, and bees. Two hives cost more. We break the numbers down line by line in what it really costs to start beekeeping.
Is beekeeping hard for beginners?
The tasks themselves are learnable. Lighting a smoker, lifting frames, and spotting eggs all get easier after a few inspections. What makes beekeeping hard is that bees die from problems you can’t see without looking for them. Varroa mites are the clearest example. The Apiary Inspectors of America survey for April 2025 to April 2026 estimated that backyard beekeepers (under 50 colonies) lost 54.8% of their colonies over the year, a higher rate than commercial operations. Most first colonies don’t die from lack of effort. They die because nobody tested for mites until it was too late. The good news is that a mite plan is simple, and it’s covered in step 7 below.
Step 1: Learn first (club, mentor, class, books)
The single best thing a beginner can do is find experienced beekeepers nearby. The UGA beginner guide calls a mentor “the most important thing” for success. Local beekeepers know your nectar flows, your winter, your mite pressure, and which suppliers deliver healthy bees in your area. No national guide can give you that.
Use the months before your bees arrive to:
- Take a beginner class. Many clubs and extension services run “bee school” in late winter, timed so students can order bees for spring. Classes fill up, so sign up early. We compare online courses and local bee schools in our guide to beekeeping classes.
- Read one good beginner book cover to cover, so club meetings and inspections make sense. If you need help picking one, start with our list comparing beekeeping books by reading stage.
- Get into a hive before you own one. Ask a club member if you can join an inspection. Ten minutes inside a real colony teaches more than any video.
Find your local beekeeping association
Almost every state has a state beekeepers association, and most regions have smaller bee clubs that meet monthly. To find yours:
- Search for “[your county] beekeepers association” or “[your state] beekeepers association.”
- Check your state department of agriculture or state apiarist page. Many list local clubs.
- Ask your county extension office. Extension agents often know the active clubs and the mentors who take on beginners.
Small beekeeping clubs are often where you find the most useful help: someone to call when your colony swarms, or who will sell you a local nuc.
Step 2: Check local laws and registration
Beekeeping rules in the US are set at three levels, and you need to check all three:
- State. Some states require every beekeeper to register their hives, and some charge a fee. New Jersey, Florida, California, New York, and Tennessee all have mandatory registration, for example. Many other states make registration voluntary or only regulate moving bees and selling honey. Your state department of agriculture or state apiarist is the authoritative source. Third-party summaries are often out of date.
- City or county. Some municipalities limit the number of hives, require setbacks from property lines, or ban bees in certain zones.
- HOA or lease. Homeowner associations and rental agreements can prohibit hives even where the city allows them.
Registration is usually free or cheap. In many states it also gets you access to a state apiary inspector, who can help you diagnose disease.
Step 3: Choose a location for your hives
A good hive site is the cheapest way to make colonies healthier. Extension guidance for a backyard beehive comes down to a few points:
- Sun. Morning sun gets bees flying early. In the hottest southern states, afternoon shade helps in summer.
- Shelter. Keep the hive out of strong prevailing winter winds, and off low ground where cold air and damp collect.
- Water. Bees need water every day, especially in summer. Put a shallow source with landing spots (stones or floating corks) close to the hive.
- Flight path. Face the entrance away from paths, patios, and the neighbor’s yard, or use a 6-foot fence or hedge to lift the flight path.
- Access. You’ll carry heavy boxes. A full medium honey super can weigh 40 to 50 pounds, so keep the site reachable with a cart.
- Bears. If bears live in your area, Penn State recommends an electric fence around the apiary before the bees arrive.
Can you keep bees in a small backyard? Usually yes, if your local rules allow it and you manage the flight path and water. Many urban beekeepers keep two hives on small city lots or rooftops.
Step 4: Pick a hive type
There are three common hive types in the US: Langstroth (stacked boxes with removable frames), top bar (one long horizontal box), and Warré (a vertical top bar design). The UGA guide recommends the Langstroth for beginners, and specifically eight-frame boxes, which are lighter to lift than ten-frame boxes.
Langstroth makes sense for most beginners for practical reasons:
- Mentors, classes, and books mostly teach on Langstroth hives.
- Nucs are sold on Langstroth frames, so they drop straight into your hive.
- Replacement parts and extractors are made for Langstroth sizes.
Top bar hives suit people who want lighter lifting and don’t mind a less standard system. Whatever you choose, pick one type and one frame size for all your hives so frames and boxes are interchangeable. For a side-by-side comparison and a quick decision guide, see our guide to types of beehives.
Step 5: Get your equipment
A starter setup has three parts: the hive itself, protective gear, and a few tools. At a minimum you need:
- A complete hive: bottom board, two brood boxes (deeps or mediums), frames with foundation, an inner cover, an outer cover, and at least one honey super
- A veil, jacket, or full bee suit, and gloves
- A smoker and fuel
- A hive tool for prying boxes and frames apart
- A feeder
- A way to test for mites (an alcohol wash or sugar roll kit)
We’ve kept product picks out of this guide. If you want a shortlist, we’ve compared beehive kits worth considering. For a full checklist with what to buy, what to skip, and how to avoid paying twice, see our beginner beekeeping equipment guide.
Order equipment in winter and assemble it before your bees arrive. Unassembled hive kits need nailing, gluing, and painting the outside surfaces, and the paint needs time to dry. Packages and nucs arrive on the supplier’s schedule, not yours.
Step 6: Order your bees
This is the step beginners most often get wrong, because of timing rather than technique. Penn State Extension advises ordering package bees and nucs the fall before you plan to install them. Many suppliers take orders from late fall through winter and sell out of spring nucs by late winter.
You have three main options:
| Option | What you get | Pros | Cons |
|---|---|---|---|
| Nuc (nucleus colony) | Usually 5 frames with bees, brood, food, and a laying queen | Established colony; builds up faster; UGA notes a higher success rate | Costs more; can bring in pests or disease from the supplier |
| Package | About 3 pounds of bees (roughly 10,000) and a caged queen, with no comb | Cheaper; widely available; starts on clean equipment | Builds up more slowly; the queen must be accepted |
| Swarm | A free swarm you catch yourself | Free; often vigorous | Unpredictable timing and genetics; not a plan for your first colony |
The UGA guide gives rough price ranges of $150 to $200 for a nuc and $100 to $125 for a package. Prices vary by region and year, so check current listings and ask your club which suppliers have a good local track record.
How many hives should a beginner start with?
Start with two, if your space and rules allow it. UGA recommends “one or two, no more” for beginners, and Penn State suggests at least two. Two colonies let you compare them, so you can tell whether one is behaving abnormally. They also let you fix problems. If one colony loses its queen, you can move a frame of eggs from the other so the bees can raise a new one. With a single hive, you have no backup.
Step 7: Install the bees and manage the first season
Packages and nucs usually arrive in spring. That can be March in the Deep South and May in the northern states. Install them as soon as they arrive. A package is shaken into the hive with the queen cage hung between frames. A nuc’s frames are moved straight into the hive body in the same order.
Your first inspections
For the first two months, inspect about every 7 to 10 days, on warm, calm days. At each inspection, check:
- Queen-right signs: eggs or young larvae mean a queen was laying in the last few days. You don’t need to see the queen herself.
- Brood pattern: a fairly solid pattern of capped brood is a good sign.
- Food: stored nectar, honey, and pollen.
- Space: use the 7/10 rule. When bees have drawn comb on 7 of the 10 frames in a box, add the next box. In an eight-frame box, use 6 of 8.
- Problems: queen cells, unusual brood, or pests.
Keep inspections short, work slowly, and use a little smoke. Write down what you see each time. Your notes will show trends that one inspection can’t.
Feeding a new colony
A new package has no comb and no stored food. It needs sugar syrup to build comb quickly. Most beginners feed a 1:1 sugar syrup (equal parts sugar and water by weight) to new colonies in spring until the colony has drawn out its boxes or a strong nectar flow starts. UGA advises feeding until nectar comes in. In fall, beekeepers switch to a thicker 2:1 syrup if the colony needs more winter stores. Don’t feed while honey supers you plan to harvest are on the hive. To get the amounts right, use our bee syrup calculator.
Varroa mites: monitor from the first summer
Varroa mites are the biggest threat to your colonies. Penn State says to have a mite plan before you buy bees, and UGA warns that untreated colonies often collapse within a year.
The standard monitoring method is the alcohol wash (or the non-lethal sugar roll):
- Scoop about half a cup of bees (roughly 300) from a brood frame, making sure the queen isn’t on it.
- Wash them in alcohol or roll them in powdered sugar to dislodge the mites.
- Count the mites and divide by 3 to get mites per 100 bees.
Our varroa mite threshold calculator does the math and checks your count against the current seasonal thresholds.
The Honey Bee Health Coalition’s Tools for Varroa Management (9th edition, 2026), the most widely used US varroa guide, sets thresholds by the colony’s seasonal phase. Treat promptly at 1 mite per 100 bees (1%) or more during winter dormancy and spring buildup, and at 2% or more at the summer peak and during the fall decline. In a 300-bee sample, that’s 3 mites in spring and 6 in late summer. The guide recommends testing monthly from spring buildup onward, and again after any treatment. Act when counts reach the threshold, not when bees look sick.
Your first-year beekeeping timeline
This timeline assumes you start reading in fall and install bees the following spring. Southern beekeepers can shift spring tasks 4 to 6 weeks earlier, and northern beekeepers a few weeks later.
| Month | What to do |
|---|---|
| October–November | Read a beginner book. Find your local beekeeping association and go to a meeting. Start budgeting. |
| December | Order your nucs or packages, since many suppliers open their order books now. Check state registration and local rules. |
| January | Sign up for a beginner class or bee school. Order your hive, protective gear, and tools. |
| February | Last realistic month to order bees from most suppliers. Assemble and paint your hive. Pick and prepare the site. |
| March | Set up the hive stand and water source. Buy sugar for feeding. In the South, packages and nucs may arrive now. |
| April–May | Install your bees. Inspect every 7 to 10 days. Feed until comb is drawn or a nectar flow starts. Add boxes using the 7/10 rule. |
| June | Inspections can space out to every 1 to 2 weeks. Watch for swarm cells. Do your first mite test. |
| July–August | Test for mites monthly and treat if counts reach your threshold. Check food stores during summer dearths. |
| September | Test mites again. Feed 2:1 syrup if the hive is light. Reduce the entrance to help guard against robbing. |
| October–November | Final checks on stores. Add mouse guards. Prepare for winter. |
| December–February | Leave the hive closed in cold weather. Heft the back of the hive to check its weight. UGA advises waiting for days above 55°F before opening (what bees do in winter). Plan for year two. |
Your colony’s first winter is the real test of year one. Our guide to getting hives through winter covers stores, moisture, and feeding by region.
How much honey to expect in year one
Usually little or none. A first-year colony, especially one started from a package, spends the season building comb and population. It needs its honey for its first winter. UGA’s advice is that year one is about survival, and that you should take one or two frames at most if you harvest at all. Leave the colony about 1.5 frames of honey for every frame of bees and brood.
Plan on your first real harvest in the second year, from a colony that survived the winter. That’s the colony that has drawn comb and a full workforce in spring.
Common questions
What is the 3-3-3 rule in beekeeping?
It is a rule of thumb for moving a hive: move it less than 3 feet or more than 3 miles. Bees memorize the location of their hive, so a medium-distance move sends foragers back to the old spot. Some beekeepers also confine the bees for a few days after a long move. Treat it as a rule of thumb, not a precise law.
What is the 7/10 rule for bees?
When the bees have drawn comb on about 7 of the 10 frames in a box, add the next box. Adding space too early makes the hive harder to keep warm. Adding it too late can lead to crowding and swarming. In eight-frame equipment, use 6 of 8 frames.
When should I order bees?
Order in fall or early winter for spring delivery. Penn State Extension recommends ordering the fall before. Many suppliers sell out of spring nucs and packages by late winter, so February is the realistic last call in most areas.
Do I need a permit to keep bees?
It depends on your state and city. Several states, including New Jersey, Florida, California, New York, and Tennessee, require beekeepers to register their hives. Others make it voluntary. Cities and HOAs can add their own limits. Check with your state department of agriculture and your local zoning office.
How much does it cost to start beekeeping?
Most beginners spend several hundred dollars in the first year on a hive, protective gear, tools, and bees, and more if they start with two hives. See our cost breakdown for line-by-line numbers.
Next steps
If you’re starting this fall, your next three moves are simple: find your local club, read up over the winter, and get your bee order in early. When you’re ready to shop, start with our starter equipment checklist, then work out your budget with the beekeeping cost breakdown, or run your numbers in the beekeeping startup cost calculator.
Sources and further reading
- UGA Field Report, A beginner’s guide to successful beekeeping
- UGA Honey Bee Program, Getting started: beekeeping equipment
- Penn State Extension, Beekeeping: Honey Bees
- Apiary Inspectors of America, 2025–2026 US Beekeeping Survey (preliminary results)
- Honey Bee Health Coalition, Tools for Varroa Management, 9th edition (2026)